A translucent black highlighter leaves original pixels mixed into the result. Use a fully opaque fill, extend it beyond the text, and save a flattened image where the mask is no longer a separate layer.
On a phone screen, a dark swipe can look complete. Increase brightness or contrast, however, and the character shapes may appear. The problem is not that the chosen color was insufficiently black. The problem is transparency.
Why black marker can still show text
A highlighter is designed to preserve text
Highlighter and marker tools often blend their color with the image underneath. That is useful for emphasis, because the reader can still see the words. It is the opposite of what a redaction tool should do.
One pass may not reach full opacity
Repeated strokes can make a translucent tool darker, but overlap is uneven and easy to miss. If you must inspect several fields, correcting opacity and repainting each one becomes both slow and unreliable.
The edges reveal the field
Tracing only the visible strokes can leave antialiasing, shadows, or the length of the original string. Cover the full field with a little extra space on every side.
A safer screenshot redaction process
- Select a fill or marker with 100% opacity.
- Cover the entire text field, not only the darkest character strokes.
- Include the quiet border around QR codes and barcodes.
- Export or save the result as one flattened image.
- Open the saved file, zoom in, and inspect it at high screen brightness.
When the mask and original pixels are combined into one new image, there is no separate mask layer to peel away. The private pixels under an opaque mask are not present in that exported area. The unedited original can still remain as another file, so do not attach it by mistake.
Black, white, or a sampled background color?
Opacity is the safety requirement. Black clearly communicates that something was hidden. White can blend into a plain screenshot. On a colored interface or photo, sampling the nearby background can make the redaction less distracting. Any of these can work when the fill is opaque and the saved output is verified.
How 2Step Mask handles the job
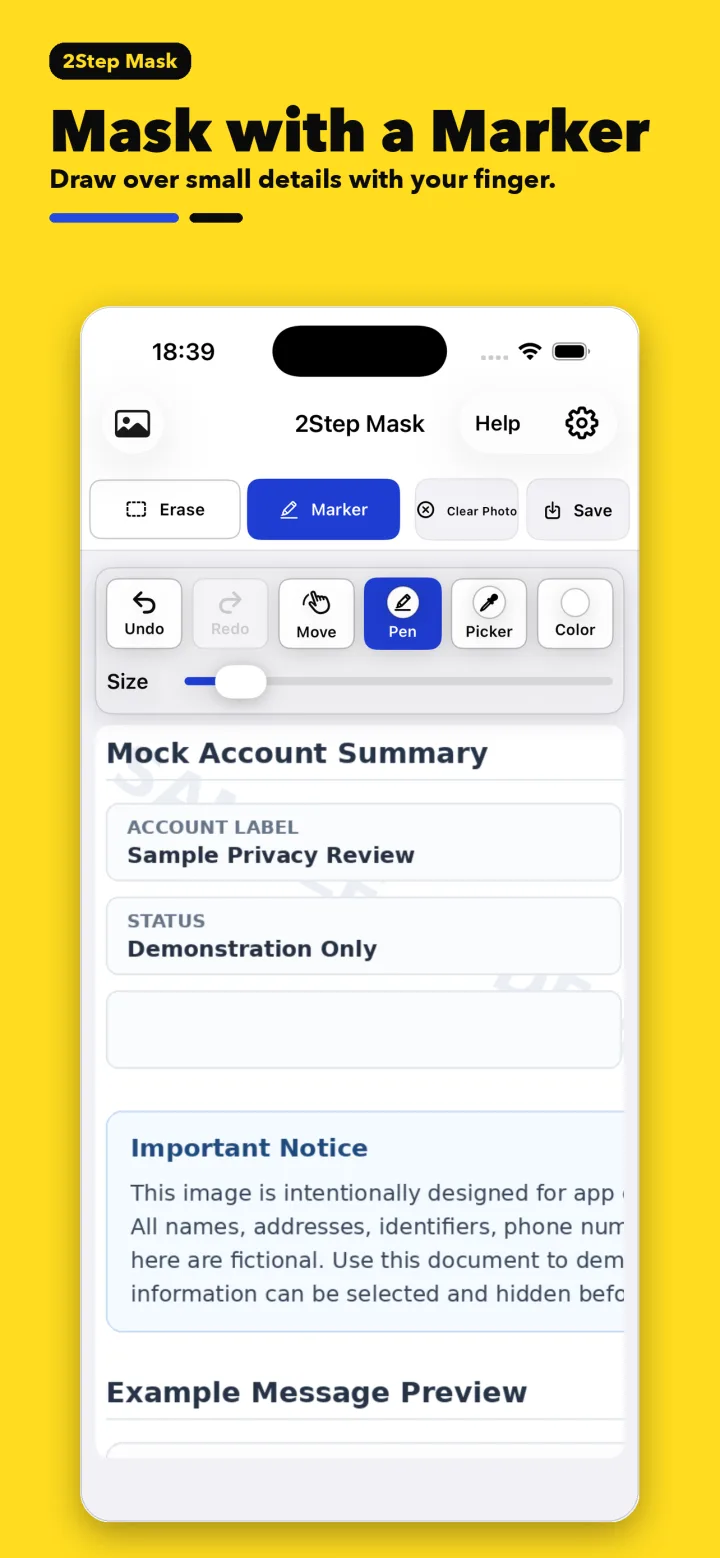
Area Mask samples the selected area and fills it with a nearby background color. Marker mode uses opaque paint and offers an eyedropper, palette, history, favorites, and a wide directional tip. Undo and Redo stay available, and the top-right panel remains visible instead of disappearing behind the hand that is drawing.
When you save, the redaction and image are flattened into a new copy. Processing stays on your iPhone and the image is not sent to an external AI service.
Frequently asked questions
Is white paint automatically safer than black?
No. White can also be translucent. Verify opacity and inspect the exported image.
Should I take another screenshot after drawing the mask?
A second screenshot can flatten what is displayed, but it may reduce quality or include extra interface elements. A tool that directly exports a flattened opaque result is easier to repeat and verify.
Use an opaque mask without hunting for settings
Area Mask and the wide marker are designed to hide information quickly and consistently.
View on the App Store